Resin vs FDM for Switch Tester Plates: Tight Tolerance Guide
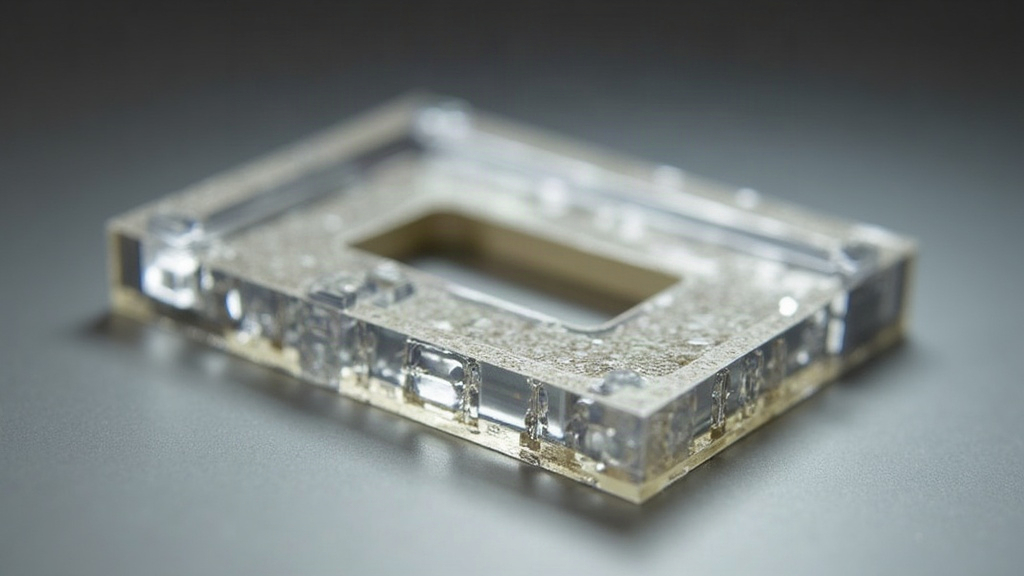
If you’re building a custom switch tester plate for mechanical keyboard switches, the choice between resin (SLA/MSLA/DLP) and FDM printing comes down to one thing: tolerance control. Switch tester plates need cutouts that hold switches snugly, usually a 14mm x 14mm or 15.6mm x 15.6mm square with a precise fit, and even a 0.1-0.2mm error can leave you with a switch that rattles around or simply won’t seat. Short version: resin wins on tolerance and surface accuracy, FDM wins on speed, cost, and durability for plates that get handled a lot. Here’s the full breakdown so you can pick the right process for your situation.
Why Tolerance Matters So Much Here
A switch tester plate isn’t a decorative print, it’s a precision fit application. The switch housing has a known standard size, and your cutout has to match it within a few hundredths of a millimeter to:
- Prevent switches from falling through or wobbling
- Allow clean removal without snapping retention clips
- Keep the plate flat so switches sit level for side-by-side comparison testing
Most hobbyist prints, enclosures, figurines, brackets, don’t care much about tenths of a millimeter. This is one of the rare desktop 3D printing jobs where sub-0.1mm tolerance genuinely makes or breaks the result.
Resin Printing: Best for Precision
Strengths
- Layer resolution: Resin printers (Elegoo Mars, Anycubic Photon, Phrozen Sonic) typically hit 25-50 micron XY resolution, compared to FDM’s 200-400 micron nozzle-driven lines.
- No visible layer lines on walls: Cutout edges come out smooth, so switches slide in cleanly instead of catching on stair-stepped ridges.
- Dimensional consistency: Shrinkage in resin is predictable and fairly uniform, so you can compensate for it in CAD (usually a 0.05-0.15mm scaling offset).
Weaknesses
- Brittleness: Standard resin cracks under repeated insertion and removal, especially around thin tabs or retention clips. Do that fifty times a day and something eventually snaps.
- Post-processing required: Wash (IPA) plus UV cure adds 20-30 minutes per batch, and you’ll need decent ventilation and some care handling uncured resin.
- Cost per plate: Resin runs $30-60 a liter, and a failed print means you just threw expensive material in the trash.
- Warping risk on large plates: A full 10-key or 20-key tester can bow slightly during cure if it’s not supported correctly.
FDM Printing: Best for Practicality
Strengths
- Toughness: PETG or ABS flexes a bit instead of cracking, which matters a lot if the tester gets passed around daily, think keyboard meetups or shop counters.
- Lower cost: PLA/PETG spools run $15-25/kg, so a failed print costs you pennies, not panic.
- Faster iteration: No wash, no cure. Pull it off the bed and test the fit right away.
- No UV sensitivity: Resin prints can yellow or degrade in sunlight over time; FDM plastics shrug that off.
Weaknesses
- Nozzle size limits precision: A 0.4mm nozzle struggles to hit sub-0.1mm tolerances consistently, especially at the inner corners of square cutouts.
- Layer lines on vertical walls: These create friction when a switch goes in, and you may need sanding or a brass square file to clean up the corners.
- Dimensional drift: First-layer squish and thermal expansion can shift cutout size by 0.1-0.3mm between printers, or even between sessions on the same printer.
Practical Recommendation
| Need | Best Choice |
|---|---|
| One-off tester for your own desk | FDM (0.2mm layer height, PETG) |
| Tester plate sold/shipped to others | Resin, for consistent fit out of the box |
| Heavy daily handling (shop/meetup) | FDM, tougher under repeated stress |
| Sub-0.05mm cutout accuracy | Resin, mandatory |
| Budget-conscious prototyping | FDM, cheaper per failed iteration |
Tips for Either Method
- Print a test tab first: a single 14mm cutout strip to check switch fit before you commit to a full plate.
- Build in a tolerance offset: add 0.1-0.15mm clearance in CAD for FDM, 0.05mm for resin, then fine-tune once you see what your specific printer actually produces.
- Orient cutouts flat on the build plate: this avoids support marks inside the switch holes, and it matters for both methods.
- Clean up the edges: a fine needle file or light sandpaper pass on resin cutout corners removes the resin “meniscus” that can quietly shrink the opening.
Conclusion
If tight tolerances are the whole point of your project, resin is the safer starting point. Its resolution handles those small, precise cutouts without much extra tuning on your end. But if the plate is going to see heavy daily use, get shipped around, or go through a dozen design revisions on a tight budget, FDM with PETG is the more sensible long-term choice. A lot of makers end up doing both anyway: prototype the dimensions in FDM, then move to resin for the final production plate once the fit is actually dialed in.