Resin vs FDM for Translucent Stained-Glass Style Window Suncatchers
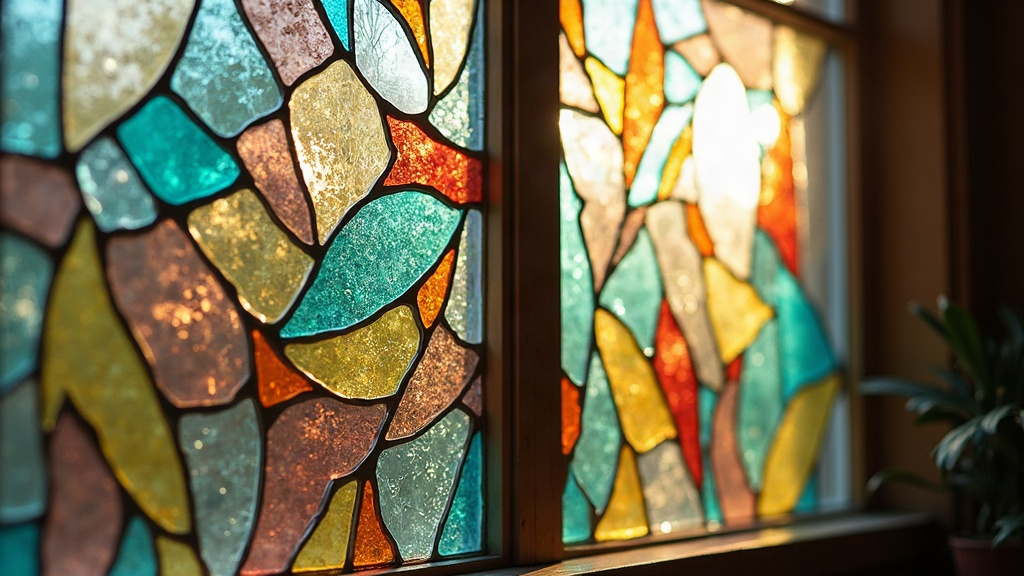
If you’re stuck choosing between resin and FDM for those translucent, stained-glass style suncatchers, here’s the quick version: resin wins on clarity and fine detail, FDM wins on speed, cost, and easier post-processing once you’re working on bigger pieces. Which one’s right for you really comes down to a trade-off: how much light transmission and color depth do you actually need, versus how much time and money you’re willing to spend getting there?
Why Suncatchers Are a Unique 3D Printing Challenge
Stained-glass style suncatchers ask for two things most 3D prints were never really built to deliver.
- Light transmission. The piece has to glow when the sun hits it through a window, not just look nice under a lamp.
- Smooth, glass-like surfaces. The moment you see layer lines or cloudiness, the glass illusion falls apart.
Both FDM and resin printers can pull this off. They just take very different roads to get there.
Resin Printing: The Clarity Champion
SLA/MSLA resin printers cure liquid photopolymer layer by layer at incredibly fine resolutions, often somewhere between 0.01 and 0.05mm. That precision is exactly why resin dominates in jewelry making, miniatures, and anything else that needs to look genuinely transparent rather than just “see-through-ish.”
Strengths:
- Superior light transmission. Clear or translucent resins (Siraya Tech Clear and Elegoo Water-Washable Clear are common picks) let light pass through cleanly once polished. It’s a much closer match to real glass than anything filament can do.
- Fine detail retention. Delicate lead-line patterns, intricate mandalas, thin color divisions, resin handles all of it crisply, without warping on you mid-print.
- Vibrant tinted colors. Mix in resin dyes, or grab pre-tinted translucent resins, and you get rich, jewel-tone panels that genuinely resemble cathedral glass.
Drawbacks:
- You’ll need to post-cure, wash with IPA, and usually wet-sand plus clear-coat the piece. Straight off the printer, resin has that frosted, almost foggy look, nothing like glass yet.
- Build volumes tend to be small. Most consumer resin printers cap out around 18-25cm, so anything larger means printing in panels and assembling them afterward.
- UV yellowing is a genuine long-term problem for anything sitting in a sunny window. Use UV-resistant resin, or add a UV-protective topcoat, or both.
- Uncured resin isn’t something to handle casually. Gloves and ventilation aren’t optional.
FDM Printing: The Practical Choice
FDM printers extrude filament layer by layer, and no, they can’t match resin’s glassy finish. But clear and translucent PETG/PLA filaments have come a long way in the last couple of years, enough that FDM is now a legitimate option here.
Strengths:
- Larger build volumes. A full 30cm+ window panel in one piece, or in interlocking segments, is no problem.
- Lower cost per print, and zero post-curing chemicals to buy or store.
- Faster for big flat panels, especially if you drop to a 0.2-0.3mm nozzle and thin wall settings.
- Easier repairs. Crack an FDM piece and you can filament-weld it back together in minutes. Resin repairs are a lot more fiddly.
Drawbacks:
- Layer lines scatter light badly unless you sand the piece and add a gloss or epoxy coat afterward. (Some makers just combine both methods and call it a day.)
- Real color depth is tough to pull off. Filament pigments tend to read as opaque or milky next to resin dyes.
- Thin translucent panels love to warp if you don’t have a heated enclosure.
Which Should You Choose?
- Choose resin for smaller pieces (under 20cm) where detail is everything, rosettes, mandalas, geometric medallions, anything where that authentic glass glow is the whole point.
- Choose FDM for larger window panels, faster turnaround, or when you’re just prototyping a design before committing resin (and time) to the final version.
- Hybrid approach: a lot of experienced makers print the structural “lead lines” in black or dark filament on an FDM printer, then fill the translucent panels separately with tinted resin or even acrylic sheet. Best of both, honestly.
Post-Processing Tips for Maximum Translucency
- Resin: Wet-sand progressively from 400 grit up to 2000, then finish with a UV-resistant clear gloss spray.
- FDM: Sand with a fine grit, then brush on a thin coat of two-part epoxy resin to fill the layer lines and bring back some clarity.
- Before you commit to a full design, test a small sample panel against direct sunlight. Translucency can swing a surprising amount between batches, and between colors, so don’t assume one test tells you everything.
Final Thoughts
If you want the most convincing stained-glass glow, resin is the better printer for the job, no argument there on clarity and detail. But FDM still earns its place for bigger, budget-conscious suncatchers, particularly once you pair it with a resin or epoxy topcoat. New to this? Start small with resin, learn how color mixing and light actually behave in your pieces, then move to FDM once your designs are dialed in and you’re ready to scale up.