Slicer Settings for Watertight Vases on FDM Printers
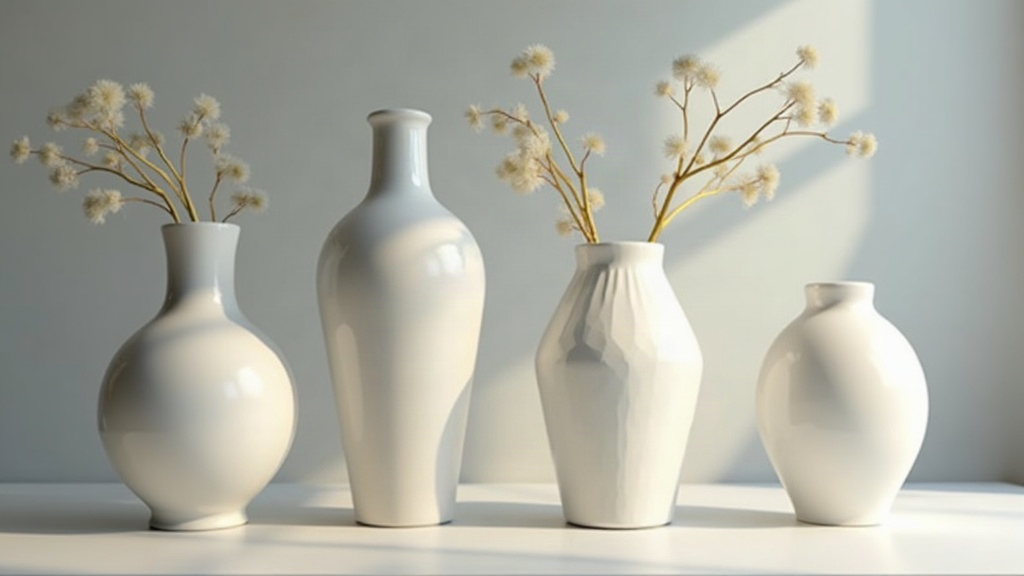
Vases are the classic FDM showcase print, but there’s a real gap between a pretty decorative shell and one that actually holds water without dripping onto your table. That gap comes down to a handful of slicer settings, including nozzle size and retraction. Get them right and you’ve got solid, gap-free walls, a leak-proof bottom, and consistent extrusion from the first layer all the way to the last. Here’s the exact configuration that reliably produces watertight vases on most FDM printers.
Start with Spiral Vase Mode
Every watertight vase starts here: Spiral Vase Mode. Cura calls it “Spiralize Outer Contour,” PrusaSlicer and Bambu Studio just call it “Vase Mode,” and OrcaSlicer sticks with “Spiral Vase.” Whatever the name, it does the same thing: it prints the outer wall as one continuous, unbroken spiral. No Z-seam, no travel moves, no start/stop point on each layer.
- Why it matters for watertightness: a normal print leaves a vertical seam where each layer begins and ends. That seam is the number one leak point, full stop. Spiral mode just… removes it.
- No infill, no top layers: vase mode turns both off automatically, which is exactly what a hollow vessel needs anyway.
- Turn it on first. Most slicers gray out conflicting settings the moment you flip vase mode on, so save yourself the confusion and enable it before touching anything else.
One continuous wall means there’s nowhere for water to seep through the sides, as long as the wall itself is thick enough and printed solid.
Widen Your Extrusion Width (The Single Biggest Fix)
If you only change one thing, change this: bump your line width well past your nozzle diameter. A 0.4 mm nozzle doesn’t have to lay down 0.4 mm lines, and honestly, for a vase, it shouldn’t.
- Recommended: 0.8-1.0 mm extrusion width on a 0.4 mm nozzle.
- Why it works: wider, flatter extrusions squish into each other with more overlap, leaving fewer gaps between adjacent spiral loops. Thin 0.4 mm walls, by contrast, flex under pressure, delaminate over time, and leak far more easily.
- Layer height pairing: pair that 0.8-1.0 mm width with a 0.24-0.32 mm layer height. The flatter, wider bead bonds layers together over a much larger contact area.
- Printer limits: most standard hotends can only melt about 10-12 mm³/s. At 0.8 mm width and 0.28 mm height, that caps your speed around 40-50 mm/s if you want the hotend to actually keep up.
Wider walls also make the vase stiffer, so it holds its shape instead of bulging outward under the weight of a full liter of water.
Build a Leak-Proof Bottom
The sides are the easy part. The bottom is where vases almost always fail, because water sits directly on it, all the time, with nowhere else to go. It needs real thickness, not a token layer or two.
- Bottom layers: set 6-10 solid bottom layers. At 0.28 mm layer height, 8 layers works out to 2.24 mm of solid base.
- Bottom thickness goal: aim for at least 1.5-2.0 mm of solid material under the water line, no less.
- First-layer squish: a slightly lower first layer height, or a touch of extra first-layer flow (103-105%), welds the base firmly to the build plate and seals that critical initial perimeter.
- Brim, if needed: a round vase usually doesn’t need a brim or raft. Tall, narrow ones do, though, a 5-8 mm brim keeps them anchored and stops the base from warping off the plate halfway through a 6-hour print.
Dial In Temperature and Flow
Gaps between lines are the real enemy here, and they almost always trace back to under-extrusion or printing too cold.
- Temperature: run 5-10 °C above the filament’s usual range. Hotter plastic flows into the tiny crevices between spiral loops and actually fuses each layer to the one beneath it, instead of just resting on top.
- Flow rate: start at 100%. If you notice hairline gaps on the outer surface, nudge it up to 102-105%. For PLA specifically, 103% tends to be the sweet spot.
- Cooling: for PLA, keep the part fan cranked to 80-100% so each layer locks in place fast. For PETG or ABS, dial it back, too much cooling there actually hurts layer adhesion instead of helping it.
Choose the Right Material
Not all filaments hold water equally well. Worth knowing before you commit to a 6-hour print.
- PLA: easiest to print, fine for short-term use, but it softens in warm water and slowly absorbs moisture over weeks. Fine for a dry-flower vase, less fine for daily fresh-cut flowers.
- PETG: the best all-around pick. Good layer adhesion, mildly hydrophobic, and it tolerates heat better than PLA does.
- ASA/ABS: strong and heat-resistant, but they warp easily and are genuinely trickier to print well.
If you want a vase that holds water for the long haul, not just for a photo, PETG is the practical choice.
Quick Settings Checklist
- Spiral vase mode: on
- Extrusion width: 0.8-1.0 mm
- Layer height: 0.24-0.32 mm
- Bottom layers: 6-10 (≥1.5 mm solid base)
- Print speed: 40-50 mm/s
- Temperature: +5-10 °C above normal
- Flow rate: 102-105%
- Part cooling: high for PLA, low for PETG
Conclusion
There’s no secret trick to a watertight FDM vase. It’s spiral vase mode, a wide extrusion width, a genuinely thick solid bottom, and slightly bumped temperature and flow, all working together. Start with these settings, print a test vase, fill it with water and let it sit overnight, and only tweak flow or bottom layers if a leak actually shows up. Do that, and you’ll go from printing pretty shells to printing vases that actually hold water, in a single go.