Print Frost-Resistant Outdoor Hose Hanger Brackets for Winter
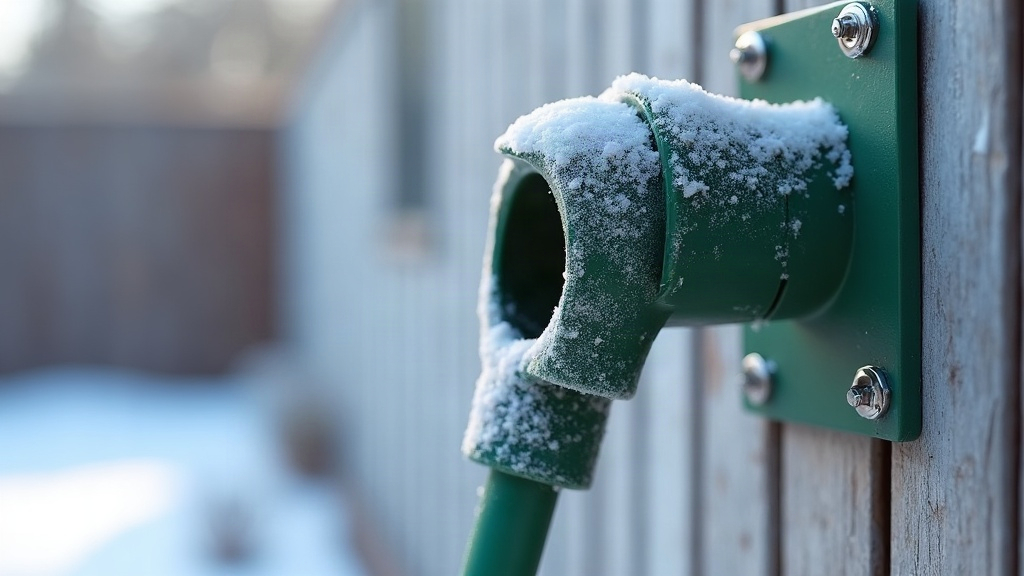
Why Most Printed Brackets Fail in Winter
Standard PLA prints look great on day one and crack by January. The reason’s simple: PLA turns brittle below freezing, and its glass transition temperature (around 60°C) means it also goes soft in direct summer sun if you leave it mounted year-round. Add moisture that creeps into the layer lines, freezes, expands, and you’ve got delamination cracks before the season’s even over.
The failures you’ll typically see:
- Layer separation along the Z-axis after a few freeze cycles
- Snapped screw bosses from brittle plastic giving out under load
- UV-yellowed, chalky surfaces that lose structural integrity
- Warped geometry, usually from poor bed adhesion and leftover internal stress during printing
Choosing the Right Filament
Material choice is the single biggest factor in whether a bracket survives the cold.
PETG, the Best All-Around Choice
PETG is the go-to for outdoor brackets. It stays meaningfully flexible down to around -40°C, shrugs off moisture far better than PLA or nylon, and has decent UV stability right out of the spool (a UV-stabilized blend takes it even further).
ASA, Best for Long-Term UV Exposure
If the bracket sits in direct sun most of the day, ASA beats PETG on UV resistance and won’t chalk or fade nearly as fast. It’s a bit trickier to print (you’ll want an enclosure to stop warping) but it earns its keep on a south-facing wall.
Avoid PLA and PLA+ Entirely
Even the “tough” PLA blends get brittle once temperatures drop. Keep PLA for indoor organizers and leave anything bolted to an exterior wall to something sturdier.
Nylon, Only With Precautions
Nylon’s strong and flexible, but it soaks up water like a sponge. Unless you’re coating it or going with carbon-fiber nylon, skip it for hose hardware that’s going to sit wet half the year.
Design Rules for Freeze-Thaw Survival
1. Increase Wall Thickness and Perimeters
Run at least 4-5 perimeters and 100% infill (or a minimum of 60% gyroid) at load-bearing spots like the screw bosses and the hook curve. Thin walls are the first thing to crack when ice forms inside the layer gaps.
2. Avoid Trapping Water
Design in drainage. Don’t leave pockets where rain or melted snow can pool and refreeze. Angle the hose cradle slightly downward and cut a small drain notch at the lowest point.
3. Round Every Corner
Sharp internal corners concentrate stress, full stop. Fillet the transition between the wall-mount flange and the hook arm. A 3-5mm radius cuts down crack propagation dramatically once temperatures drop.
4. Oversize the Screw Bosses
Print the screw holes slightly undersized and drill them out to final diameter, or reinforce the bosses with a cylindrical wall at least 3mm thick. That’s how you avoid the classic “boss snaps off in January” moment.
5. Print Orientation Matters
Orient the part so the layer lines run perpendicular to the main load direction (think of the pull from a loaded hose). Print the hook flat on the bed rather than standing it vertical, so layer adhesion works with the downward force instead of against it.
Recommended Print Settings for PETG Brackets
- Nozzle temp: 235-245°C
- Bed temp: 80-85°C
- Layer height: 0.2mm for strength (skip the thin 0.12mm layers, they just add weak points)
- Print speed: 40-50mm/s for better layer bonding
- Cooling fan: Low, around 10-20%. PETG bonds better with less cooling, not more
- Infill: 60-80% gyroid or cubic in the main body, 100% at the screw bosses
Weatherproofing After Printing
Even a well-printed bracket benefits from some post-processing:
- Seal the layer lines with a light coat of clear polyurethane spray to keep moisture out
- Use stainless steel screws. Galvanized or zinc screws corrode and leave stains on PETG and ASA over time
- Add a rubber washer between the bracket and the wall to cut down on vibration-driven micro-cracking
- Bring it indoors for the harshest months if your area regularly hits -20°C or colder. Even PETG has its limits once you’re in true arctic territory
Quick Checklist Before You Print
- Filament: PETG or ASA, never PLA
- 4+ perimeters, reinforced screw bosses
- Rounded corners, no water traps
- Correct print orientation for the load direction
- Post-print sealing and stainless hardware
Conclusion
Making a hose hanger bracket that survives subzero winters isn’t rocket science, but it does ask for a few deliberate choices: PETG or ASA filament, thick reinforced walls, drainage-conscious geometry, and the right print orientation. Skip the PLA shortcuts, round your corners, seal the finished print, and the bracket will outlast several winters instead of giving up after the first hard frost.