How to Print Critter-Proof Latches for Outdoor Compost Bin Lids
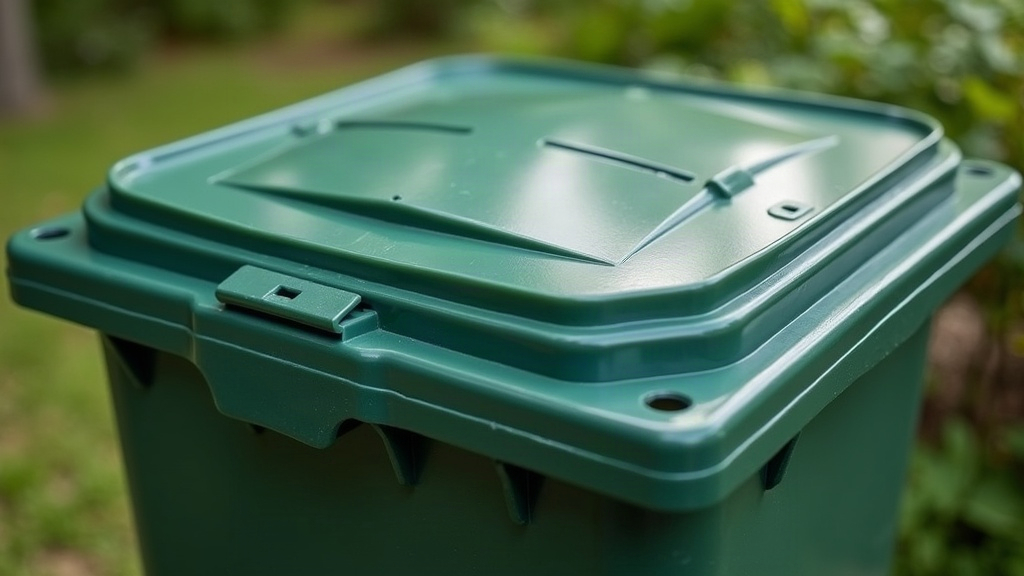
If raccoons, rats, or opossums keep breaking into your outdoor compost bin, a 3D printed critter-proof latch might be the cheapest fix you’ll ever install. No app, no motion sensor, no $80 “animal-proof” bin from the garden center. Just a small printed part and about an hour of your evening. Here’s how to design, print, and install one that actually holds up.
Why Standard Compost Bin Lids Fail
Most plastic compost bins come with flimsy clip latches or a lid that just sits on top by friction. Fine for wind. Useless against a raccoon, which has paws dexterous enough to flip clips and pry lids open like a toddler working a childproof cap (except the raccoon usually wins). The usual failure points:
- Thin plastic clips that snap or bend the first time a paw leans on them
- Lids that pop up the moment something pushes from underneath
- Latches mounted low, right where an animal standing on its hind legs can reach
- Hardware that bakes in UV light and rain, turning brittle in a single season
A properly designed printed latch fixes all of this at once: a locking action animals genuinely can’t replicate, built from material that doesn’t fall apart outdoors.
Choosing the Right Filament
Outdoor parts take a beating from sun, humidity, and temperature swings that can hit 40°C in summer and well below freezing in winter. Pick your filament accordingly:
- ASA – the best all-around choice. Excellent UV resistance, holds up for years without going brittle, basically the outdoor cousin of ABS.
- PETG – handles moisture and impact well, slightly weaker against UV than ASA, but easy to find and easy to print.
- PLA – skip it for anything staying outside. It sags in summer heat and starts chalking and cracking within a few weeks of direct sun.
Print latch bodies under 2 inches at 100% infill for maximum strength. Anything bigger, 60-80% infill is plenty and saves you filament without weakening the part.
Designing a Critter-Proof Latch
Core Design Principles
- Force two actions at once. A pinch-and-slide or push-then-twist motion stops almost every animal cold, since most critters can only manage one coordinated motion at a time.
- Mount it away from ground level. Put the latch on top of the lid or toward the back, not on the front edge where an animal standing on its hind legs has leverage.
- No dangling hardware. Any exposed hook or clip is just something for a raccoon to grab onto and yank.
- Make it self-locking. A spring-loaded or gravity-return catch re-engages automatically every time, so you’re covered even on the nights you forget to check it.
A Simple Printable Design
One of the most reliable options is a sliding bolt latch with a thumb-recess:
- Print a rectangular bolt, about 60mm x 15mm x 8mm, that slides through two printed guide brackets mounted across the lid and bin body.
- Carve a small thumb recess on top, just deep enough for a human fingertip but too shallow and smooth for a raccoon’s paw to grip.
- Add a tiny printed set screw or a magnet pocket so the bolt stays locked even when wind or a nosy animal nudges the lid.
Got a hinged lid instead? A cam-lock latch works just as well. The lid physically can’t lift until the cam rotates 90 degrees, and in practice, animals never figure that part out.
Step-by-Step Printing Process
- Start with a model or a free download. Printables and Thingiverse both have compost-latch files you can tweak in Tinkercad or your slicer before printing.
- Measure your bin first. Lid thickness, rim width, all of it, before you hit print. Most latch failures trace back to a tolerance mismatch nobody checked.
- Use 3-4 perimeter walls, plus at least 4 top/bottom layers, for a part that can actually survive outdoors.
- Print the brackets and bolt as separate pieces. Test-fit the slide, and if it binds, sand it down a touch rather than forcing it.
- Use brass heat-set inserts for screw mounts instead of printing the holes directly. Printed threads crack under repeated load; inserts don’t.
Installing the Latch
- Attach brackets with stainless steel screws, not printed pegs. Rodents will chew through a plastic-only mount given enough time.
- Run a thin bead of silicone sealant around every screw hole. It keeps water out and stops cracking during freeze-thaw cycles.
- Shake the bin, push the lid from several angles, try to force it the way an animal would. Only trust it outdoors overnight once it passes that test.
Maintenance Tips
- Check the latch once a month for UV fading or hairline cracks, especially right after a brutal summer.
- Keep the slide clear of compost grime, and add a drop of silicone lubricant if it starts sticking.
- Reprint worn parts each season. Honestly, this is the best part of DIY hardware: a cracked bracket costs you 20 cents of filament and twenty minutes, not a trip to the store.
Conclusion
A 3D printed critter-proof latch comes down to three things: UV-stable filament, a two-step locking action, and metal hardware that won’t give way. Put a few hours into designing and printing it, install it properly, and you’ll stop waking up to scattered coffee grounds and tipped-over bins. Your compost pile keeps doing its job, and the raccoons can go bother someone else’s trash.