Beginner vs Advanced Guide to a Screwless Snap-Together Plant Trellis
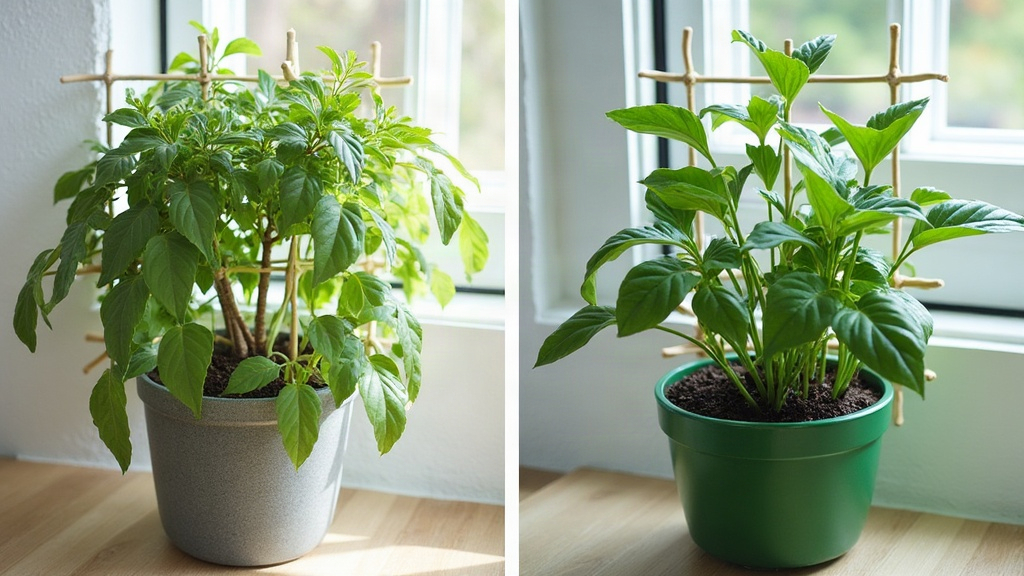
A screwless snap-together plant trellis is a modular garden support made from interlocking pieces that click into place without screws, glue, or any hardware at all. That means it’s easy to print, easy to assemble, easy to take apart, and easy to store when the season ends. This guide walks through a simple beginner build next to a more advanced modular version, so you can pick whichever fits your situation: printing your very first trellis, or designing a reusable garden system you’ll use for years.
Why Go Screwless?
Traditional trellises depend on screws, zip ties, or wire to hold the panels together. That usually means a trip to the hardware store and digging through a toolbox you can never find when you need it. A snap-fit trellis sidesteps all of that by using printed joints (tabs, slots, dovetails, snap clips) engineered right into the 3D model itself. The payoff:
- No hardware to buy, rust, or lose in the grass
- Faster assembly, often under 5 minutes once you know the pattern
- Easy winter storage since pieces separate flat and stack like plates
- Fully repeatable on any FDM printer, no special equipment needed
Beginner Approach: Simple Grid Trellis
If you’re new to this, aim for reliability, not complexity. Nobody needs a parametric masterpiece for their first attempt at a tomato cage. A basic design works like this:
1. A Single Repeating Part
Print one lattice unit (a cross or diamond shape) and just keep printing it. Each piece connects to its neighbors through a simple peg-and-hole joint on its edges. One STL, printed a dozen times, and you’ve got a full trellis.
2. Loose-Fit Tolerances
Stick to a tolerance of 0.3 to 0.4mm between pegs and holes. Go tighter than that and you’ll crack your PLA trying to force pieces together at 2am the night before planting. This range still holds firm once friction kicks in, but it won’t fight you during assembly.
3. Flat, Print-in-Place Layout
Design the connectors so they print flat on the bed, avoiding overhangs entirely. A basic T-slot or box-tab joint handles this fine, no supports required, no post-processing headaches.
Recommended settings:
- Material: PLA or PETG (PETG if it’s going outdoors for more than a month)
- Layer height: 0.2mm
- Infill: 20-30% (a trellis needs light rigidity, not tank armor)
- Wall count: 3 perimeters minimum, since that’s where the connector strength actually lives
This setup is ideal for a 12x12 inch starter trellis, perfect for peas, ivy, or anything small that just needs a little help climbing.
Advanced Approach: Modular Expandable System
Experienced makers stop thinking of the trellis as “a shape” and start treating it as an engineered kit. A few upgrades separate the two approaches:
1. Parametric Design
Build the trellis in Fusion 360 or OpenSCAD as a parametric model. Need a taller panel for a raised bed that’s 18 inches deep instead of 12? Change one variable, mesh density or panel height, and regenerate every part instantly. No redrawing from scratch.
2. Multi-Directional Snap Joints
Forget simple pegs here. Advanced builds use dovetail snap clips or cantilever clips that lock across two axes at once (horizontal and vertical). That’s what lets panels expand sideways into walls, curve into arches, or chain together into full tunnels for climbing beans.
3. Weather-Resistant Material Choices
For anything staying outside season after season, print in:
- ASA, which resists UV and won’t yellow the way PETG eventually does
- PETG-CF for extra stiffness without adding a single screw
- Black or dark green filament specifically, since lighter colors degrade faster under direct sun
4. Tolerance Tuning Per Printer
Don’t assume your tolerances match someone else’s build log. Print a tolerance test cube first and calibrate before committing to a full batch, since snap-fit clearances shift depending on your printer and even which brand of filament you’re running.
5. Stackable Height Extensions
Advanced trellises include “extension collars” that snap onto the base, so the whole structure can grow right alongside the plant through the season. Tomatoes and climbing roses in particular tend to outgrow a fixed-height trellis by midsummer, so this solves that problem before it starts.
Choosing the Right Approach for You
| Factor | Beginner | Advanced |
|---|---|---|
| Design tool | Pre-made STL | Parametric CAD |
| Joint type | Peg-and-hole | Multi-axis snap clips |
| Material | PLA | ASA / PETG-CF |
| Customization | Fixed size | Fully scalable |
| Print time | 2-4 hours | Multi-part batch jobs |
Common Mistakes to Avoid
- Too-tight tolerances: this causes snapping during assembly, not during actual use outdoors, so it’s an easy trap to blame on the wrong thing
- Thin connector walls: anything under 2mm tends to fail the first time real wind load hits it
- Ignoring UV exposure: standard PLA will visibly degrade outdoors within a single season, no matter how well the joints are designed
Conclusion
A beginner screwless trellis is about keeping things simple: one repeated part, loose tolerances, and a print job you can knock out over a weekend. The advanced version takes that same core idea and turns it into a genuine modular system, parametric, weatherproof, expandable as your garden grows season after season. Start simple so you actually learn how snap-fit joints behave under real use, then scale up once you’re ready to build something custom-engineered for any bed size, any season, any climbing plant you throw at it.